Quick summary
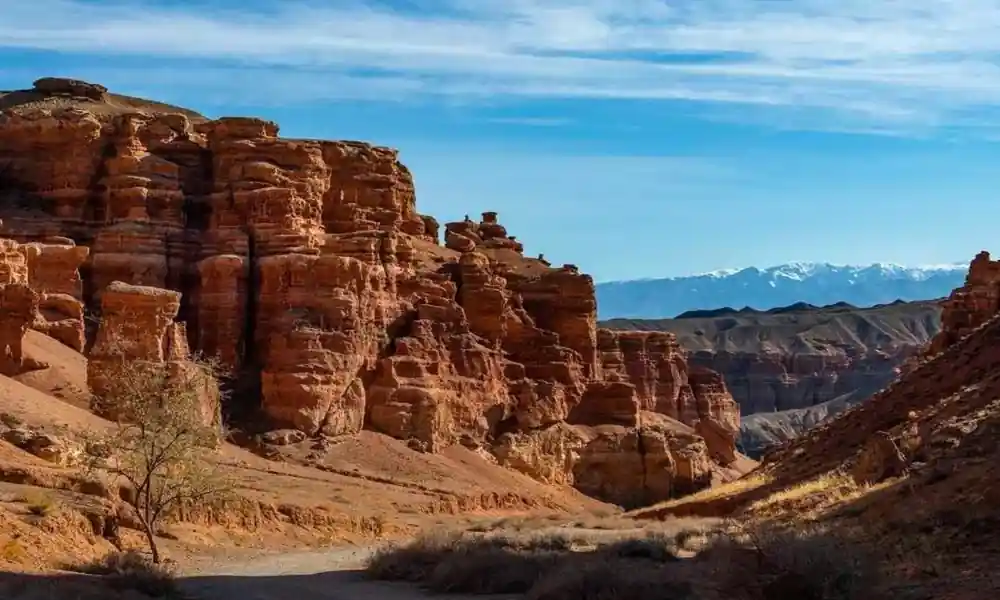
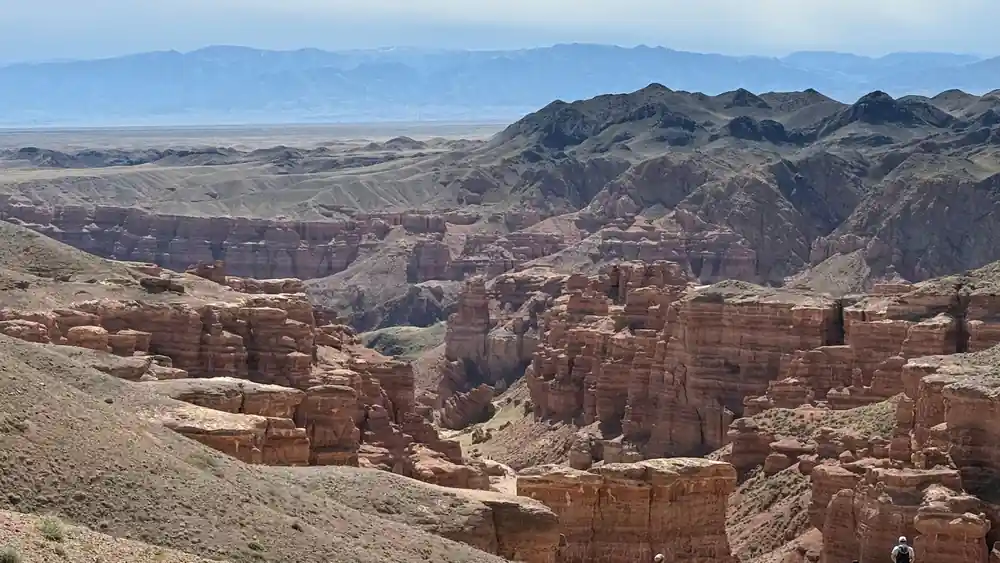
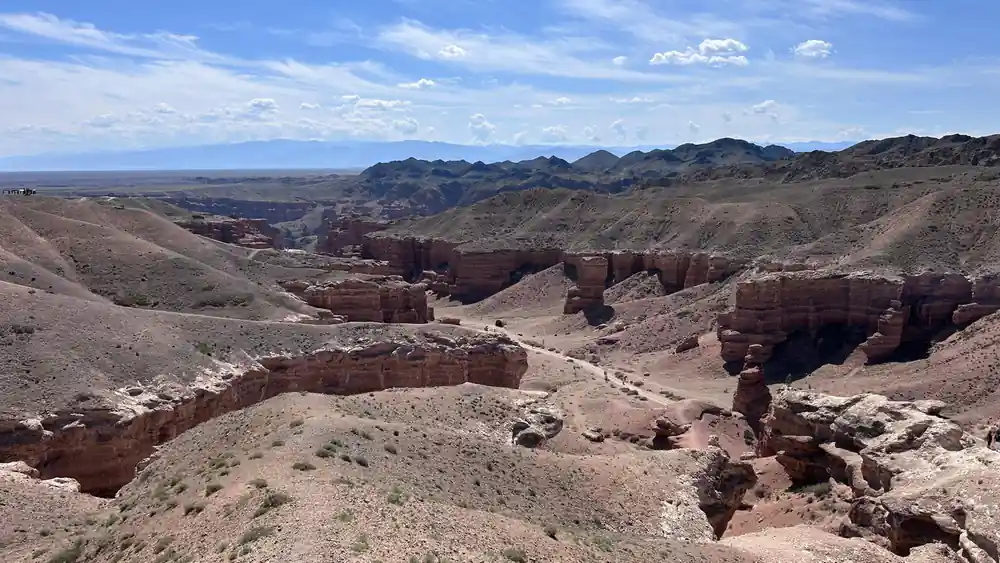
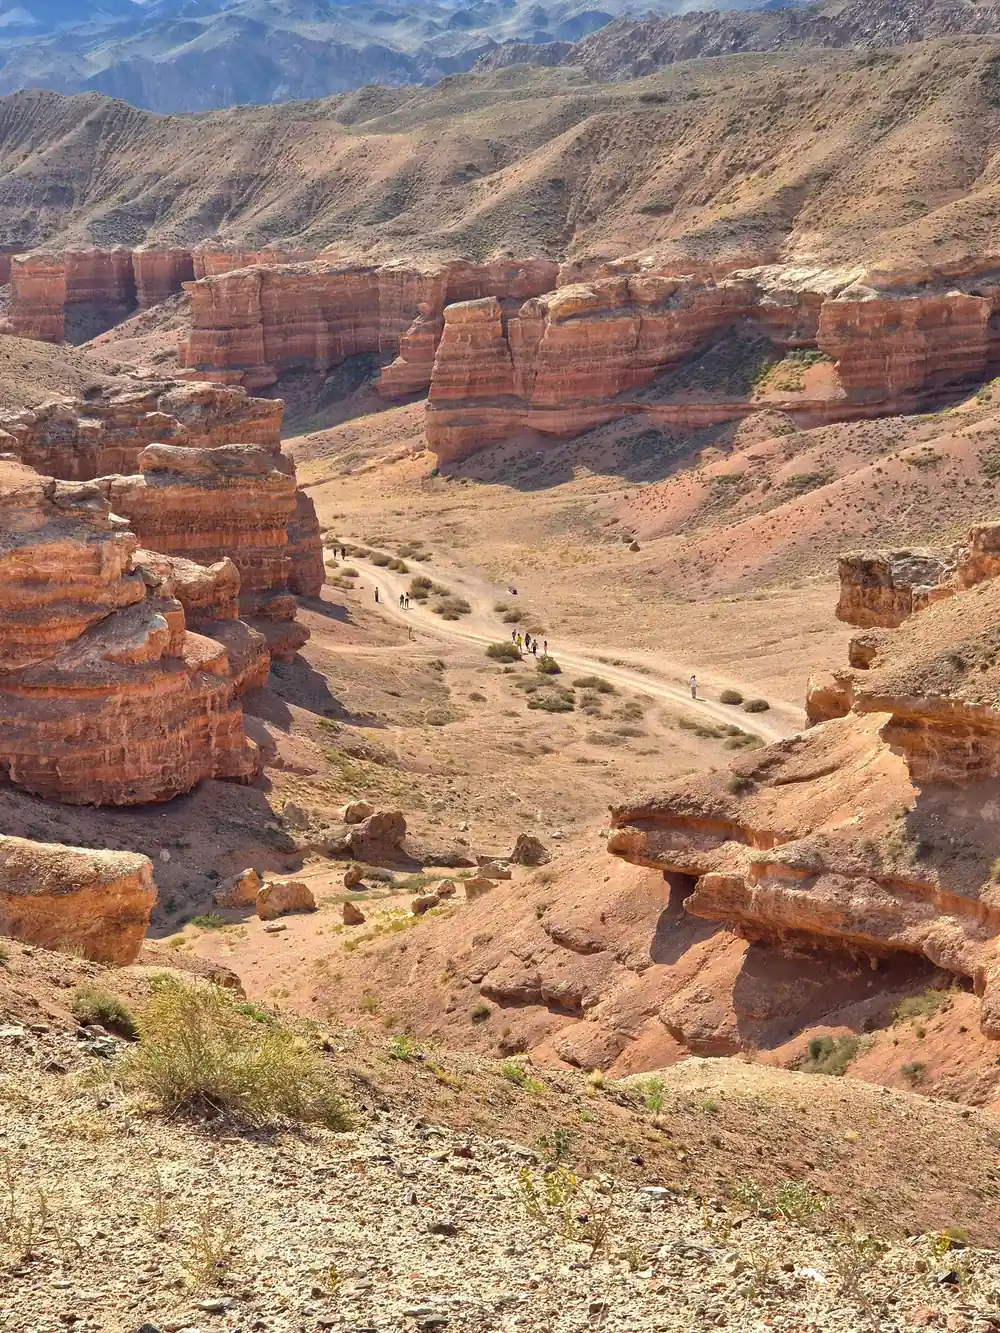
- Mid-morning arrival. Golden light hits the red cliffs at a low angle, creating dramatic shadows across the Valley of Castles. Shoot the layered formations head-on from the main viewpoint.
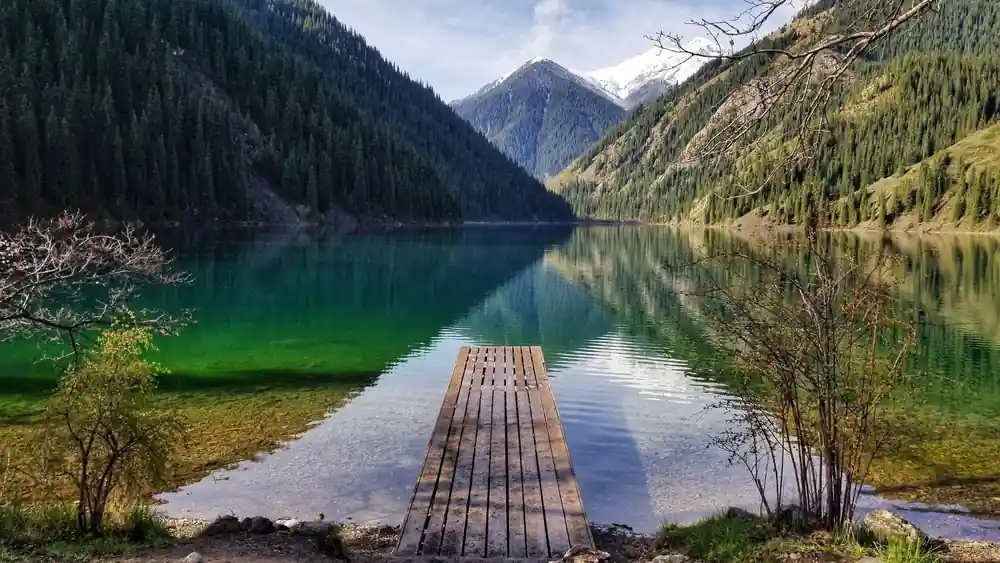
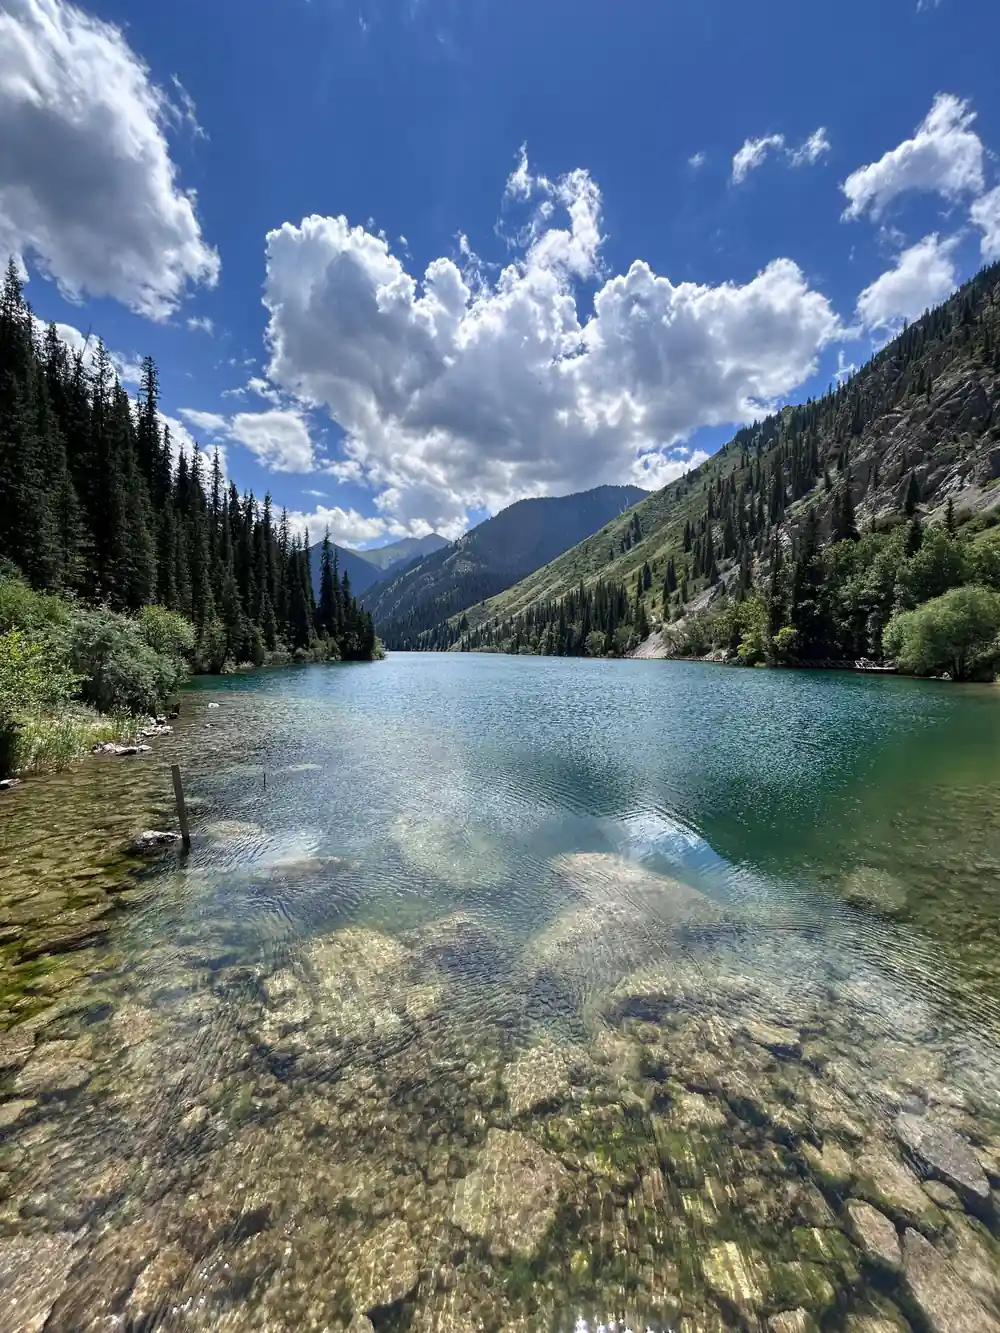
- Early afternoon stop. Bright overhead sun intensifies the turquoise water's colour. Position yourself on the shoreline facing away from the sun to capture the clearest reflection of the surrounding peaks.
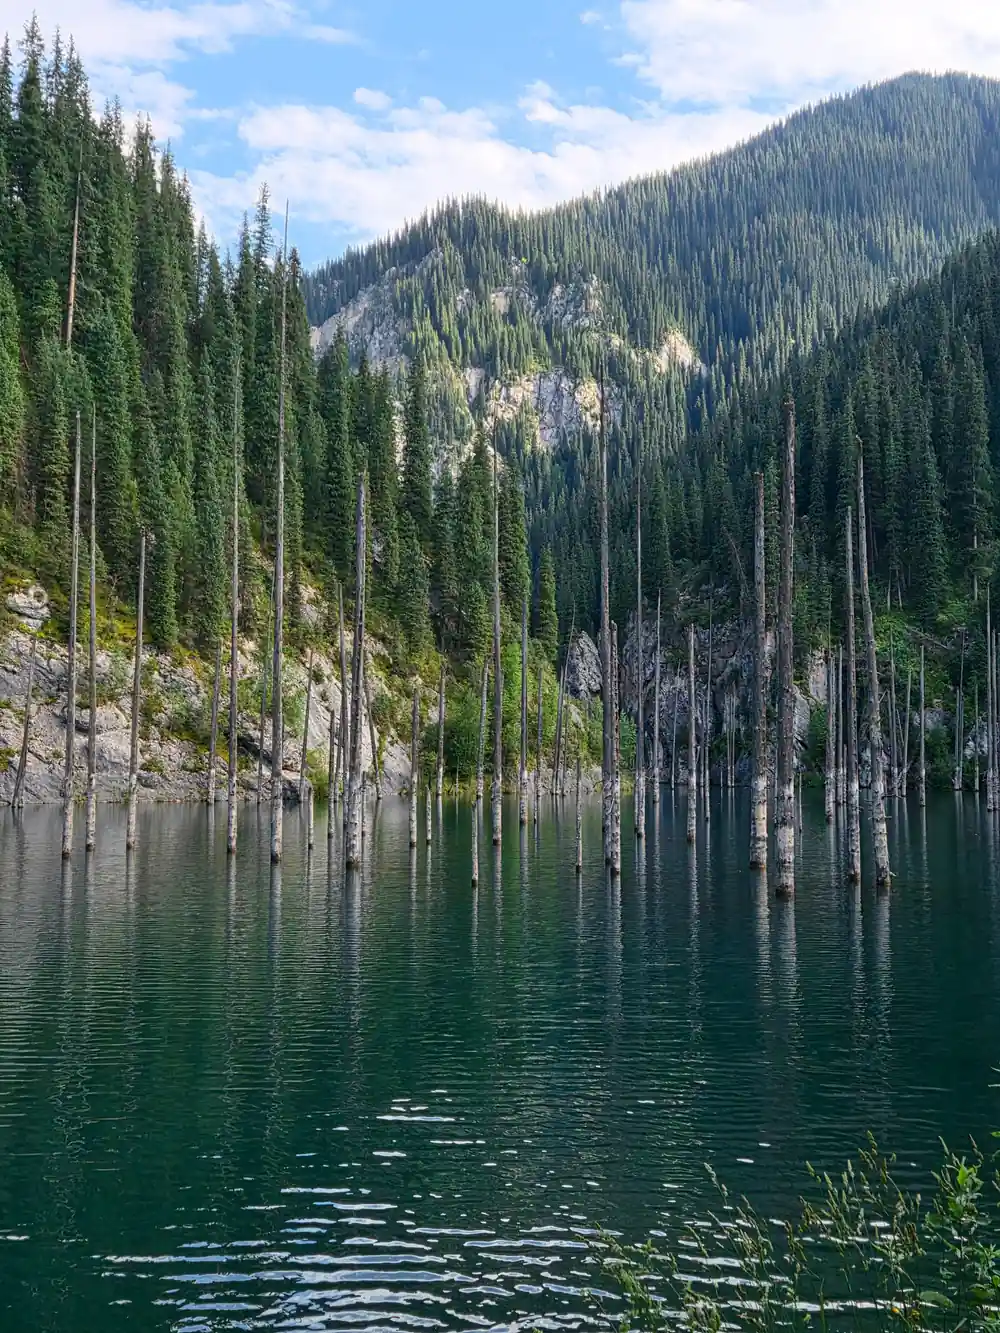
- Late afternoon, softer light. The submerged larch trunks stand out best when backlit. Wade or shoot from the shore at a shallow angle to isolate individual trees against the water's surface.
- Canyon walls show extreme brightness differences. Smartphone cameras may struggle with shadow detail. Expose for the sky and accept darker foregrounds, or use exposure compensation to even out the range.
- Steppe winds carry fine dust. Keep your lens capped between stops and allow equipment to warm gradually indoors. Avoid rapid temperature changes that cause condensation inside the camera body.
Start at Charyn Canyon: Rim Light and Canyon Shadow
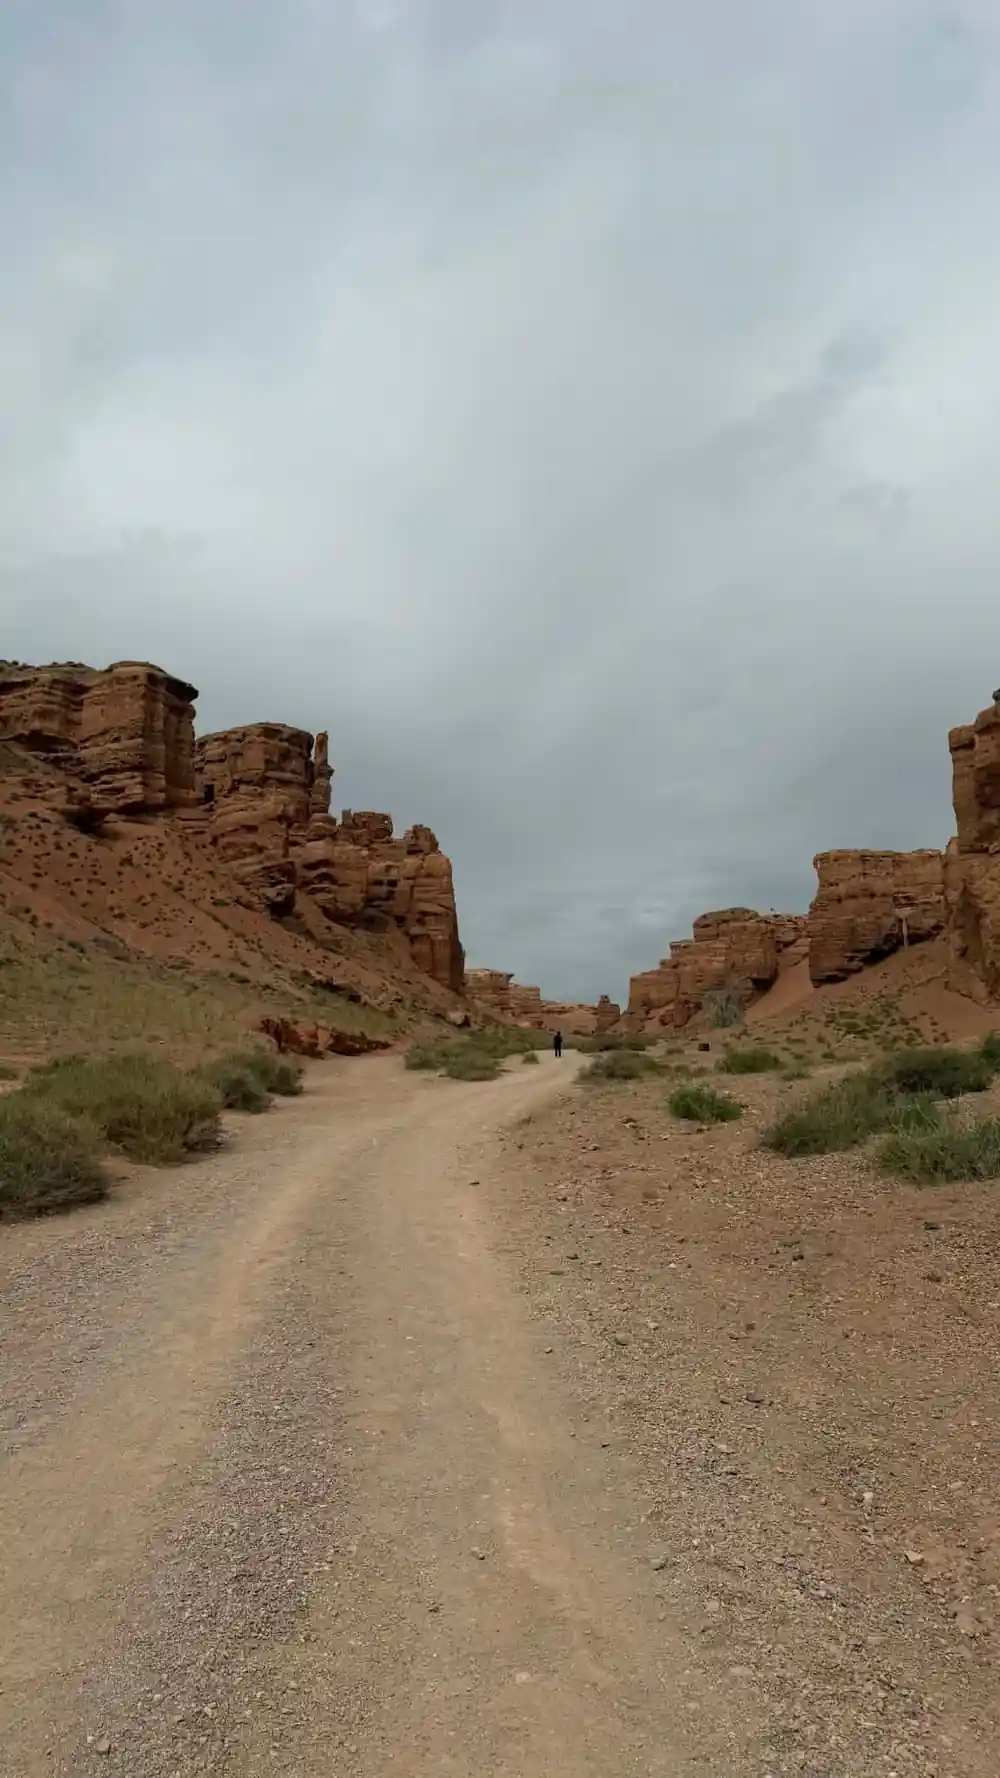
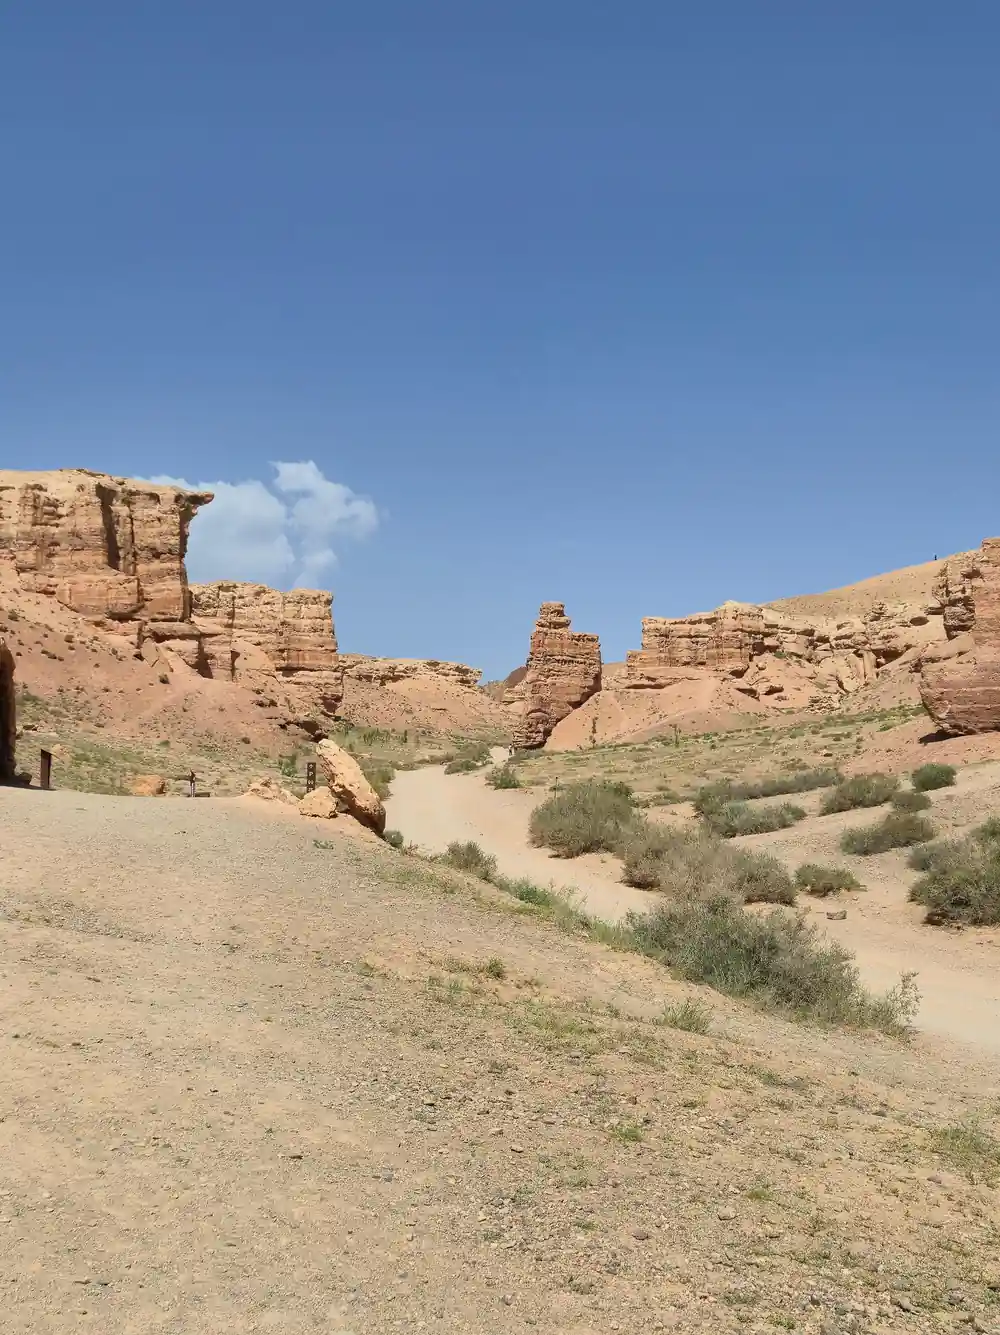
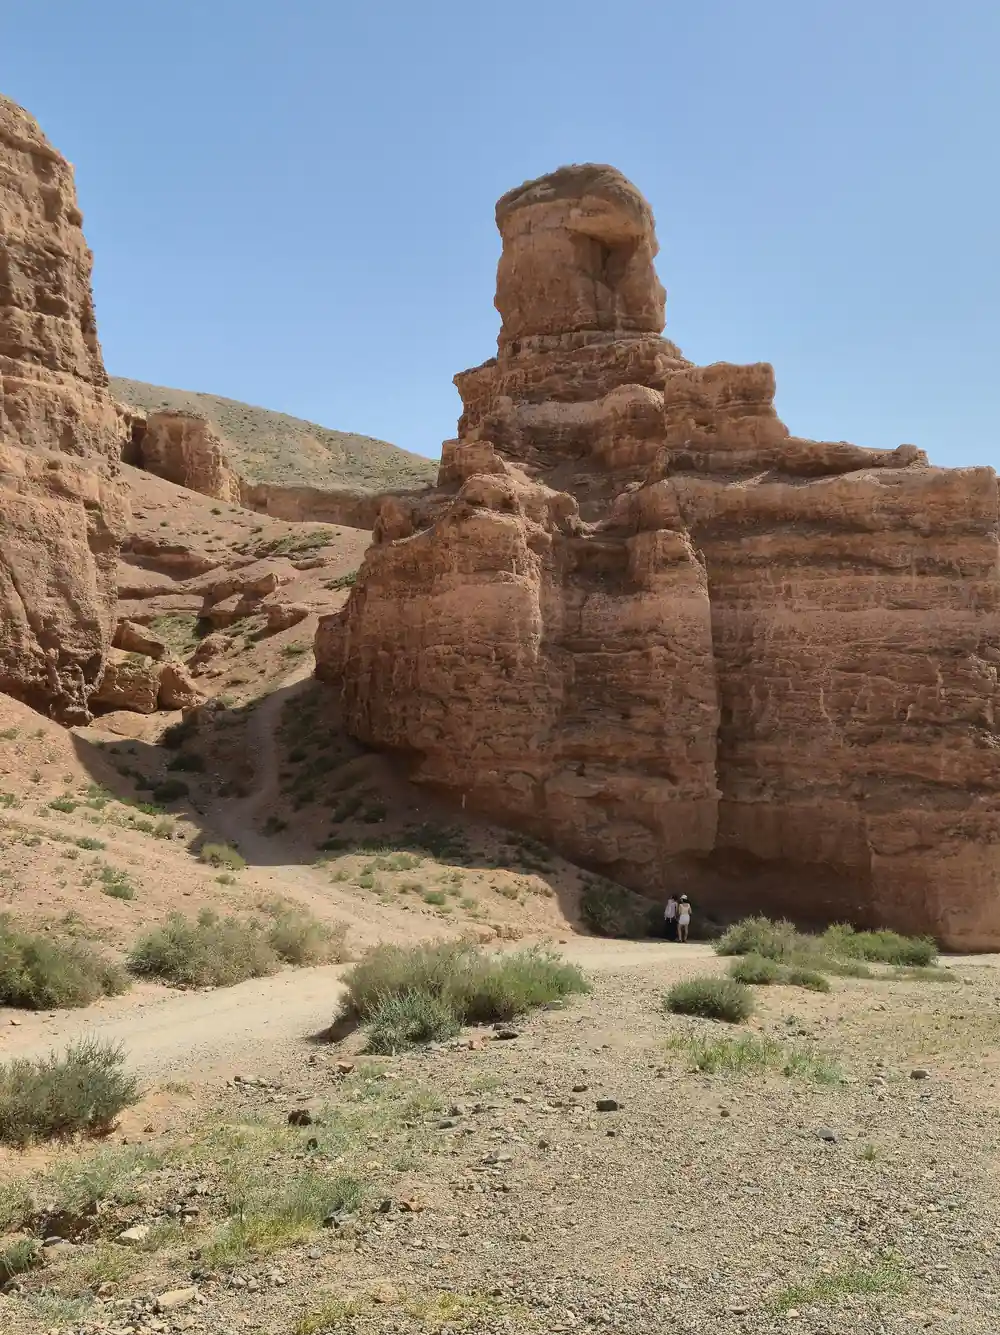
The day begins at Charyn Canyon National Park, where the tour's timing dictates which light you will actually find on the rock face. Early morning arrival means the sun sits low behind you as you stand on the canyon rim, casting the opposite wall into deep shadow. This is the moment for wide shots that show the scale of the red cliffs and the canyon's depth, but the contrast between lit rim and shadowed interior is severe. Your camera, whether phone or dedicated, will struggle to hold detail in both zones simultaneously.
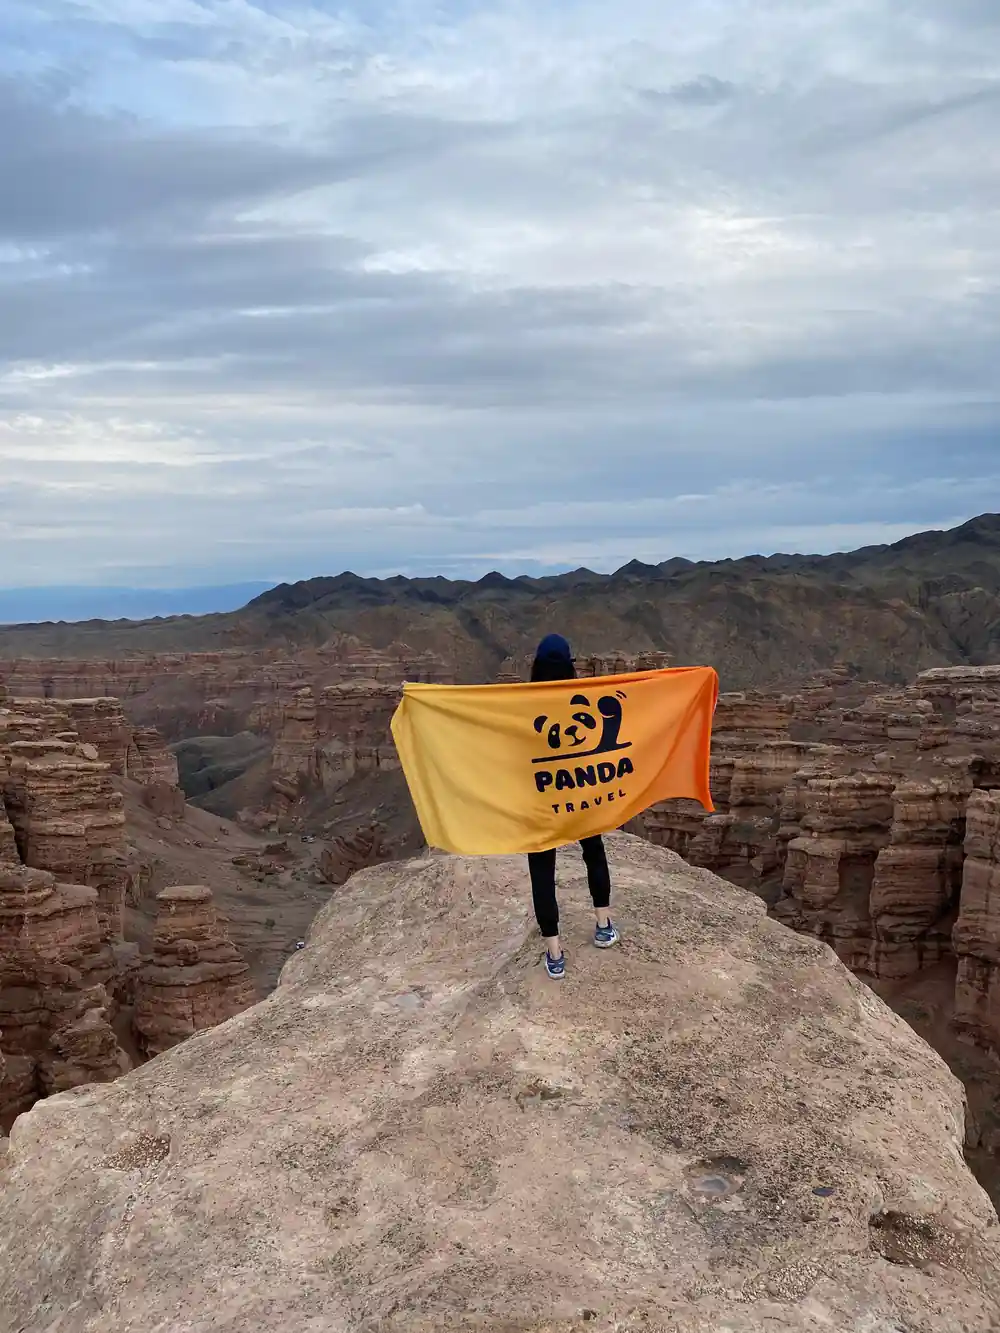
The classic Valley of Castles image is shot from the designated viewpoint on the northern rim, looking south across the layered formations. This is where the included memory photo is typically taken by your guide, capturing you with the stacked red rocks as a backdrop. For your own shots at this vantage point, expose for the sky first, then be ready to lift shadows in post-processing or use your device's HDR mode if available. The canyon floor itself remains in shadow until late morning; if you descend to walk among the formations, bring a reflector or expect underexposed images in the ravines.
Dust, Cold, and Camera Care in the Steppe
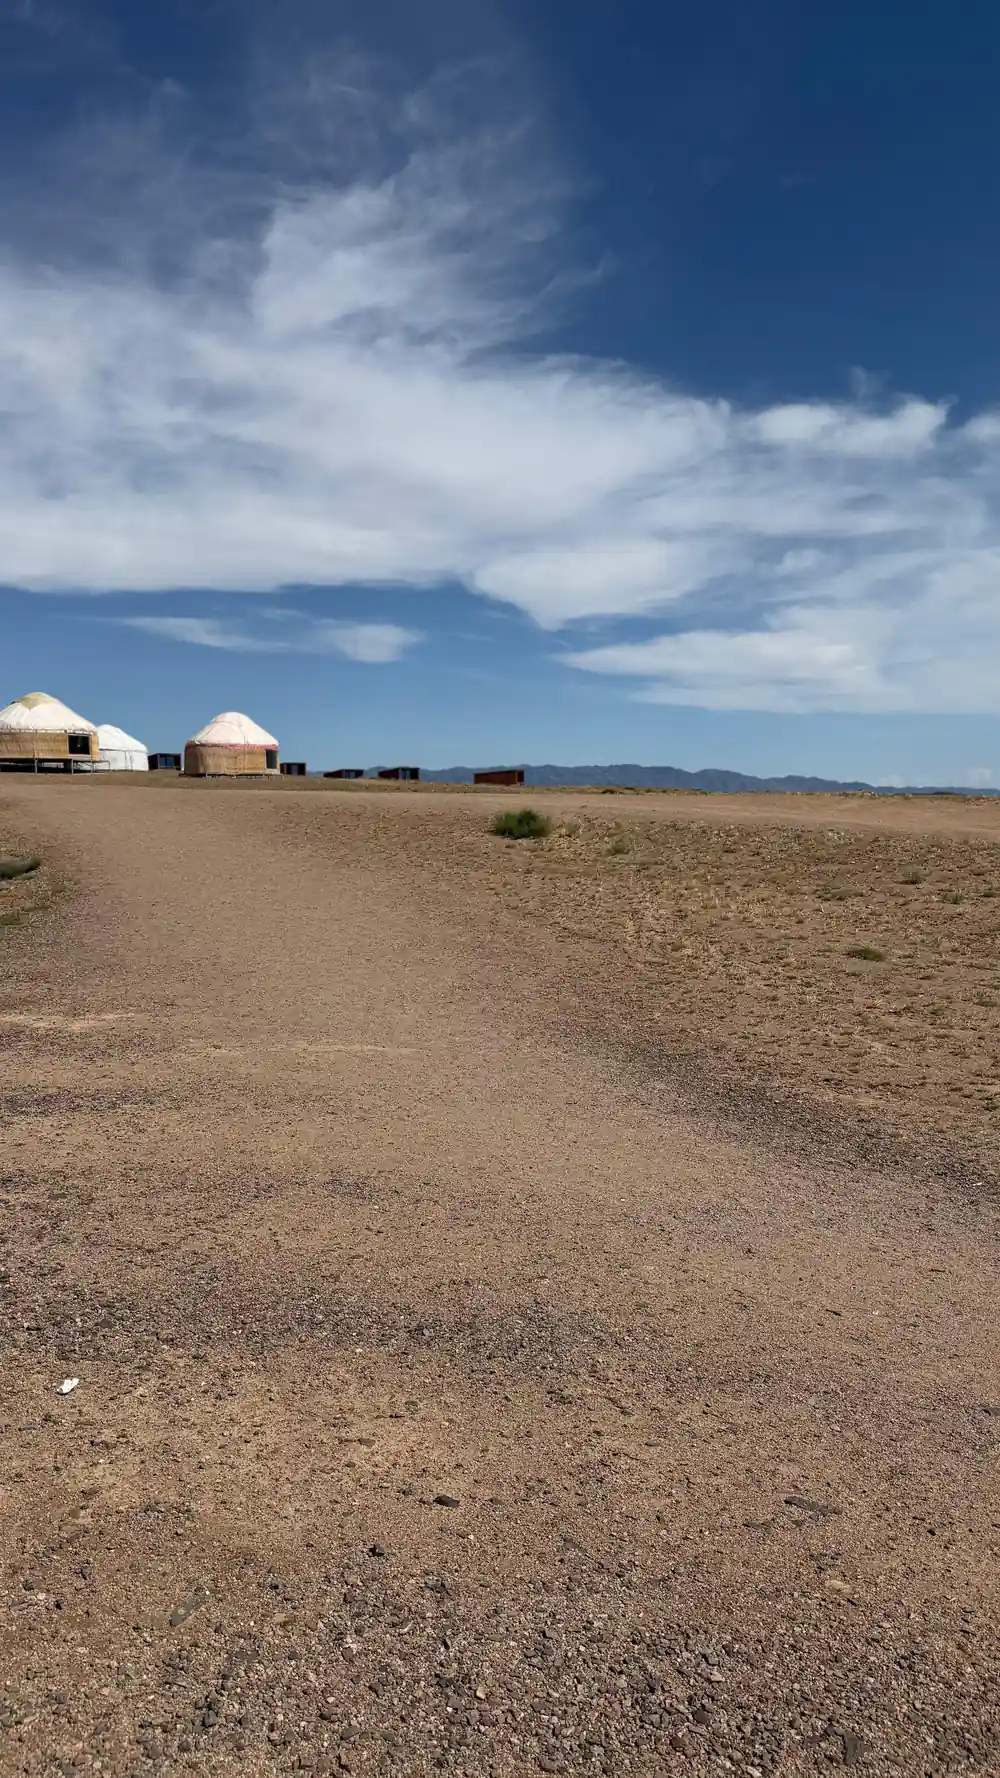
Between the canyon and the lakes, the minibus crosses open steppe where wind kicks up fine dust that settles on lenses, sensors, and phone screens. Cold air at altitude thickens quickly after sunrise, and the temperature swing between sunny canyon floors and shaded parking areas can cause lens condensation. Wipe optics only with a microfiber cloth; use a rocket blower to clear dust before contact. For phone cameras, a protective case that allows lens access will reduce the risk of particles entering the camera module.
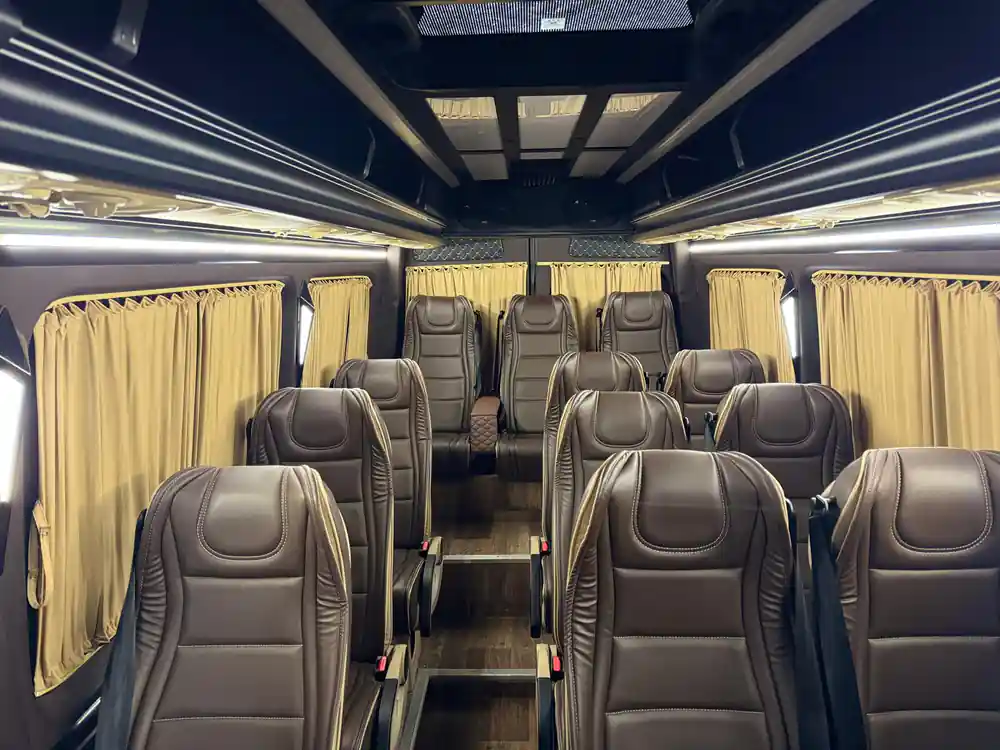
Battery life drops in cold faster than at sea level, so carry spares if you are shooting video or using burst mode. Store batteries inside your jacket between stops. Dust also enters mechanical gear - if you are using a mirrorless or DSLR with interchangeable lenses, avoid lens changes during the steppe leg. The Soviet UAZ minibus transfer to Kaindy Lake parking, though part of the included itinerary, is unsprung and jostles all equipment; secure cameras in a padded bag rather than around your neck.
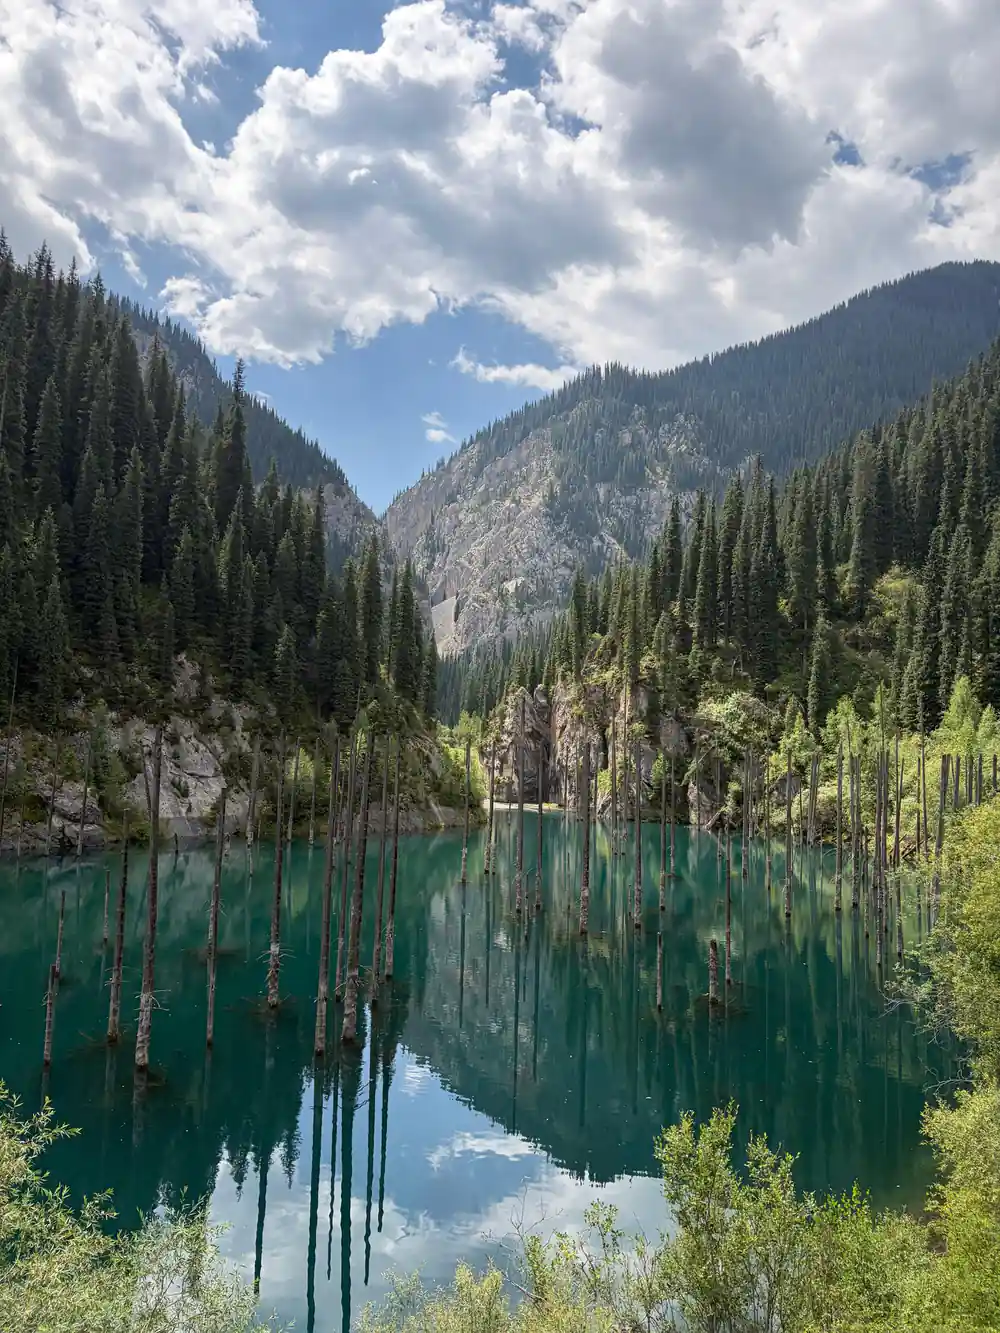
Charyn Canyon's red walls at 10 AM: soft light before harsh midday shadows
Kaindy Lake: Photographing the Submerged Trunks
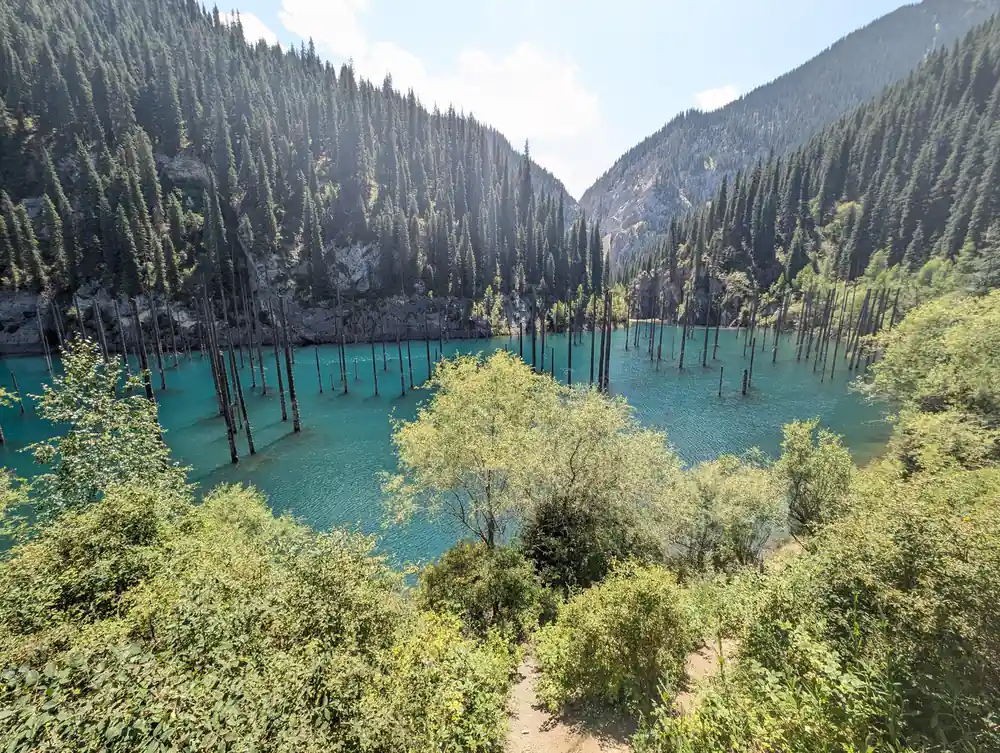
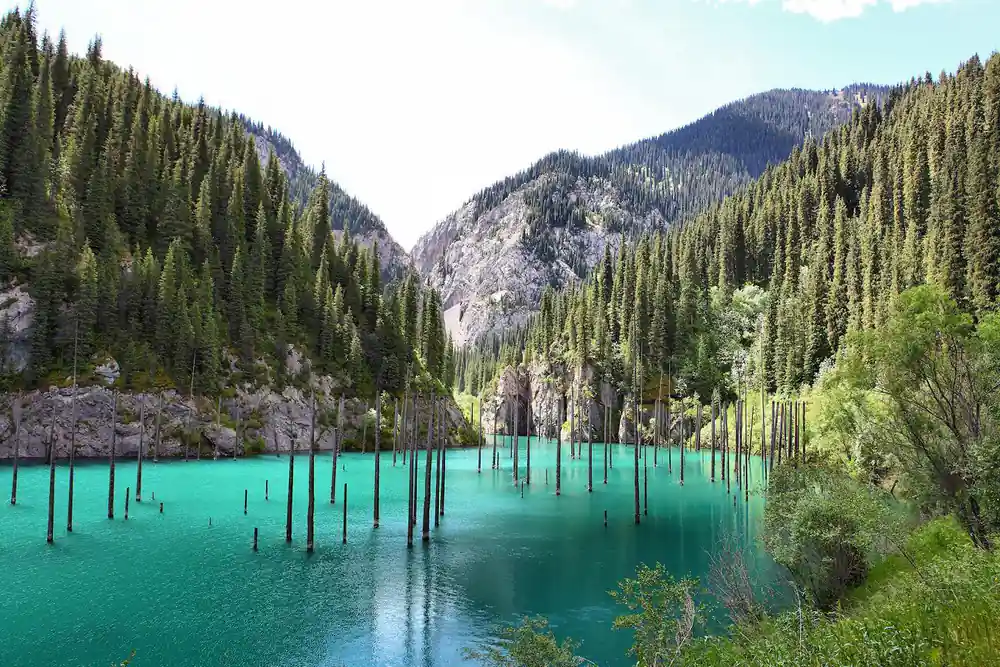
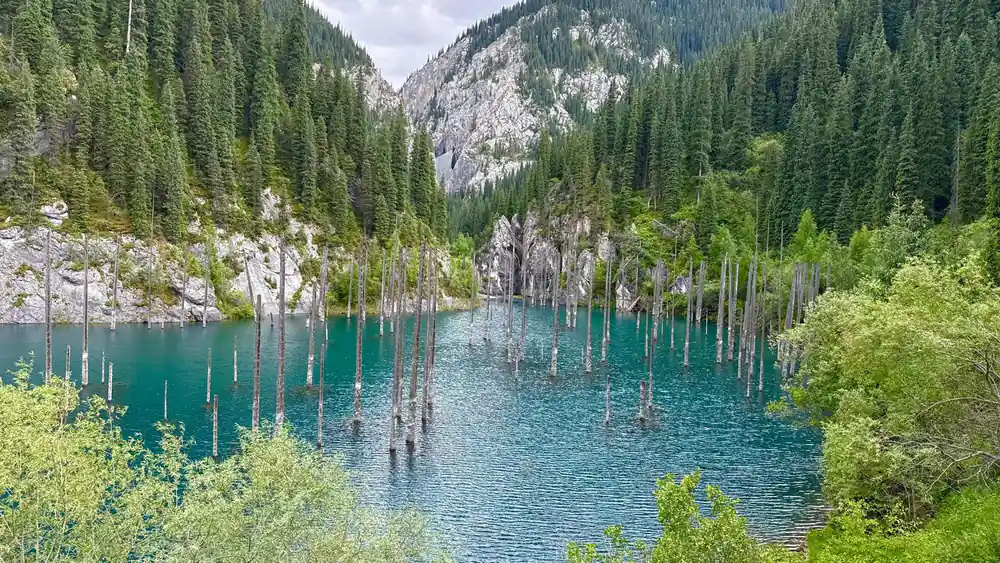
Kaindy Lake's most distinctive feature is the forest of submerged spruce trunks rising from the water, creating an otherworldly landscape that requires a specific approach to capture well. The trunks are clearest from the eastern shore, where the sun angle at midday illuminates the water surface and reveals depth. Shoot toward the northwest to backlight the trunks slightly; this separation from the background water is essential for definition. The included ticket grants access to the lakeside; position yourself near the shore rather than on the viewing platform if possible, as the platform's railings will catch lens reflections.
Exposure is critical here because the pale trunks and deep blue-green water create contrast without the harsh rim-and-shadow problem of the canyon. Use spot metering on the trunks themselves, then allow the water to fall into a slightly deeper tone. Phone cameras often oversaturate the blue; if yours does, accept it as a stylistic choice or use a polarizing filter on a dedicated camera to reduce glare and recover the true color. Wide-angle shots work well for context, but zoom in to isolate a cluster of trunks and the reflections they cast. Plan to spend at least 45 minutes here to capture the light as it shifts from midday toward afternoon.
Kolsai Lake and the Kolsai Mountain View
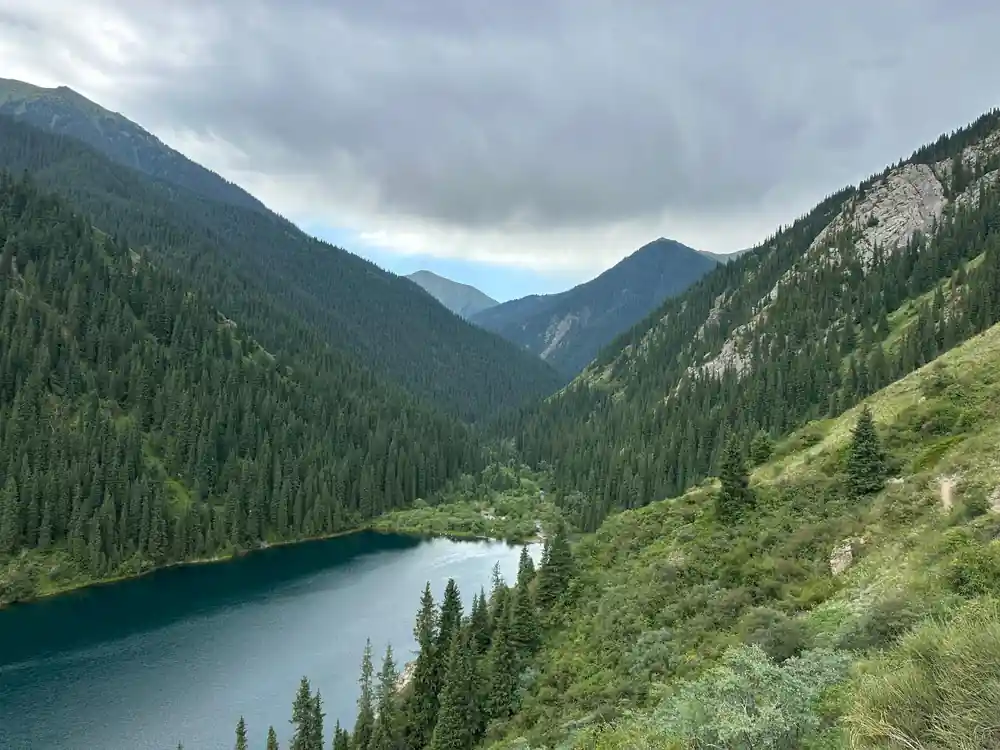
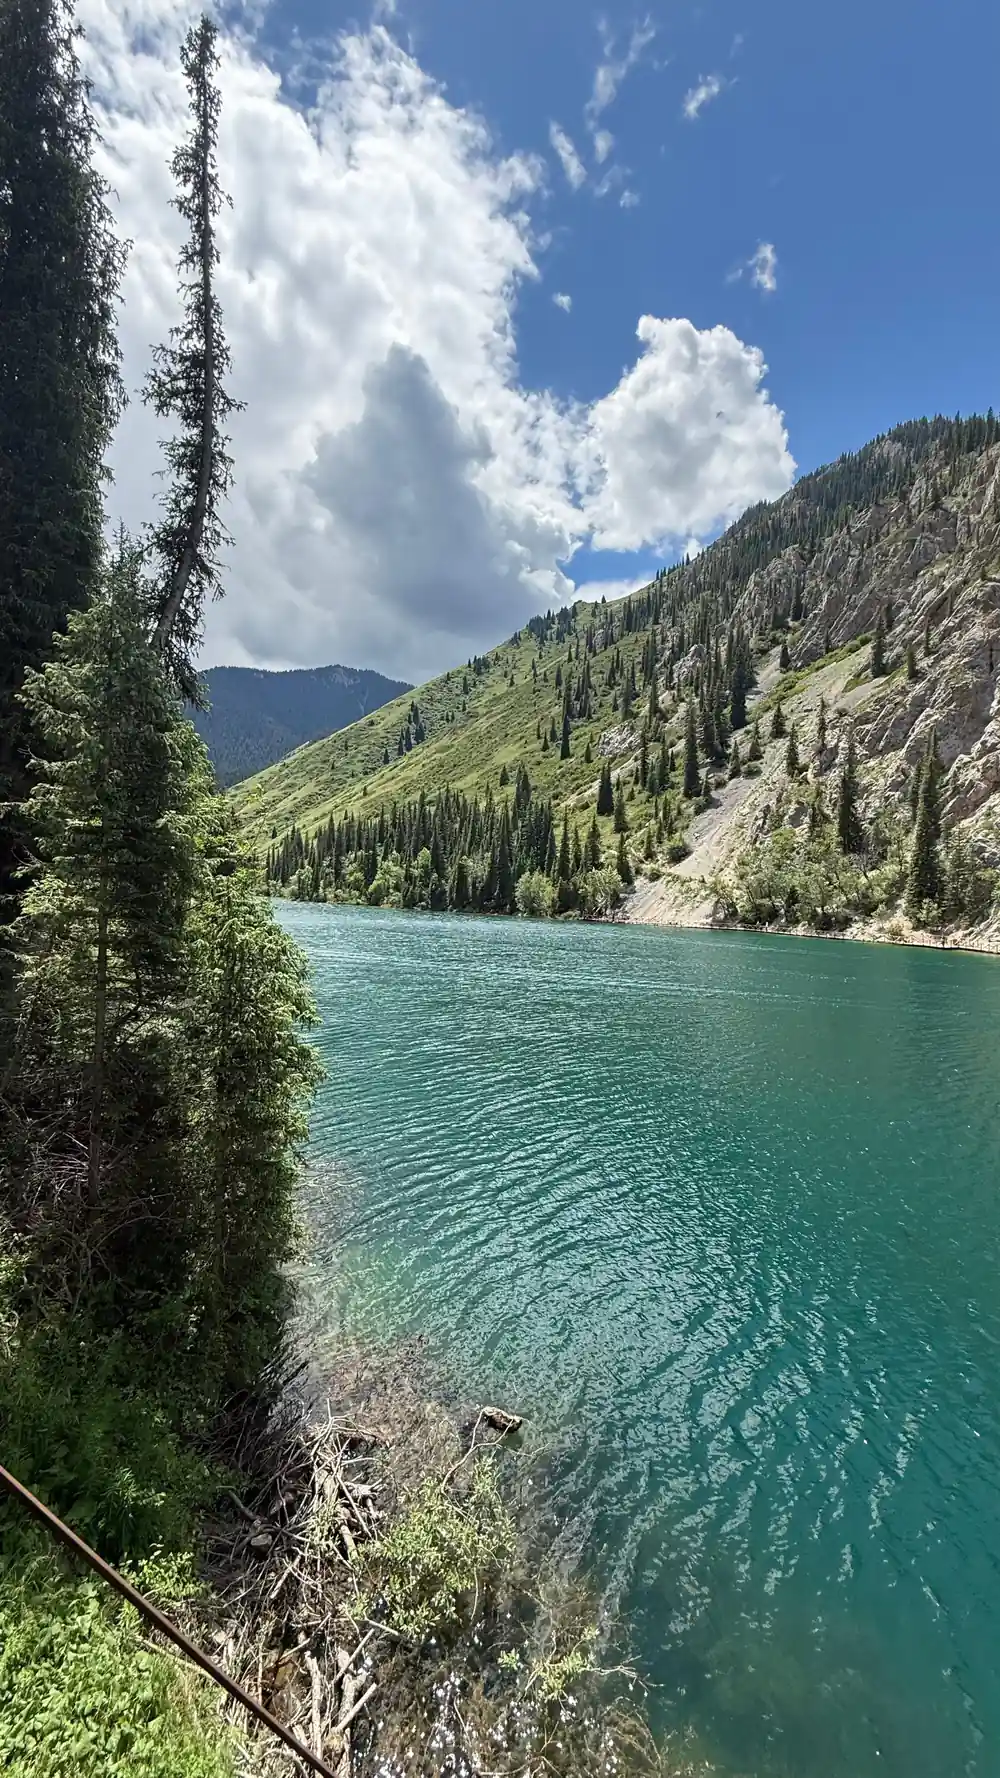
Kolsai Lake sits in a forested valley, offering a stark contrast to both the canyon's exposed rock and Kaindy's stark trunks. The turquoise water of Kolsai is fed by glacial melt and holds its color throughout the day, making it one of the most photogenic stops for straight color rendition. The best angle is from the southern shore, where the backdrop of forested slopes frames the lake and the reflection is clearest. Arrive with your guide at the viewpoint to the west of the main parking area; this vantage has fewer visitors and gives a cleaner composition.
The Kolsai mountain view from the north shore, accessible via a short walk, reveals the lake's full width with the surrounding ridges compressed by telephoto distance. Afternoon light, by the time the tour reaches this third major stop, is often diffuse and soft, reducing the contrast problems you faced at the canyon. This is where phone cameras and entry-level DSLRs perform equally well. Shoot in aperture priority if you have the option, aiming for f/5.6 or smaller to keep both the foreground shore and the far ridges in focus. The saturated blue of the water needs no special handling; if anything, avoid over-processing and let the natural glacier-fed color speak for itself.

High Contrast and Dynamic Range Across the Route
The three stops present three distinct lighting puzzles: the canyon's extreme contrast between exposed rock and shadow, Kaindy's moderate contrast of pale trunks against deep water, and Kolsai's softer, more uniform light across a turquoise surface and forested backdrop. A phone camera that copes well with the canyon's dynamic range by using HDR mode may overprocess Kolsai's already-saturated water, introducing color fringing. Test your device's settings at the canyon and adjust accordingly before you reach the lake.
If you are shooting with a dedicated camera, bring a neutral density graduated filter to hold the sky at the canyon without turning the rock face muddy. At Kaindy and Kolsai, a standard polarizing filter will cut reflections and deepen the water color without the risk of color shifts. Exposure bracketing (three shots at different exposures, combined in post) is the safest approach at the canyon if your camera offers it. Practice these techniques before the tour if possible; there is no time to troubleshoot exposure blending on the day itself.
Memory Photo Logistics and Best Timing
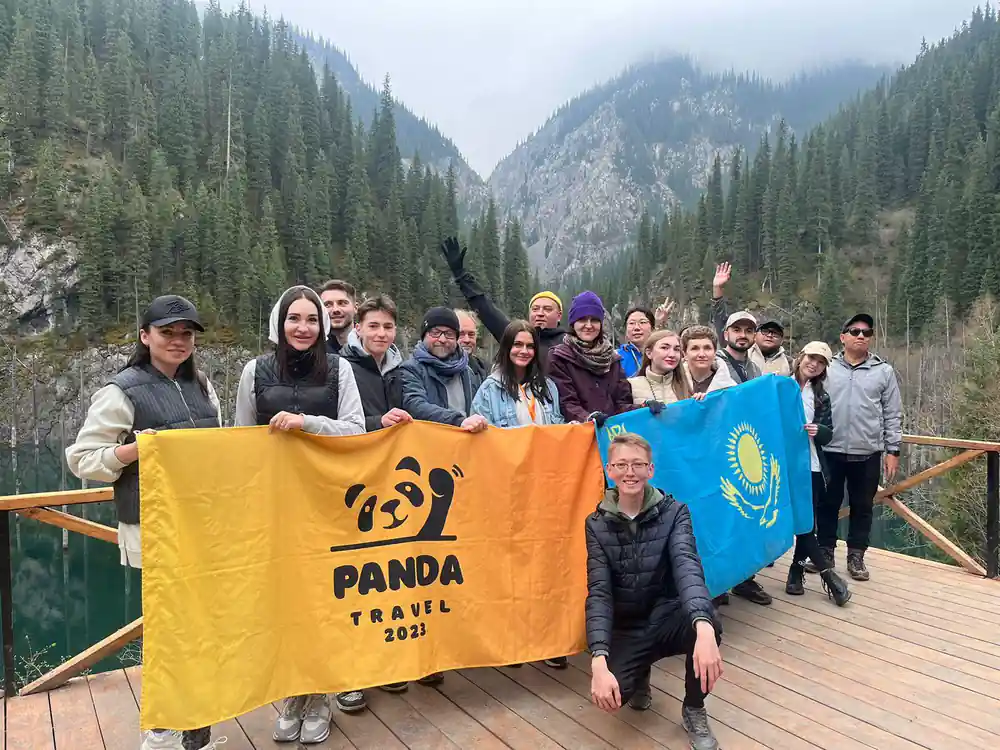
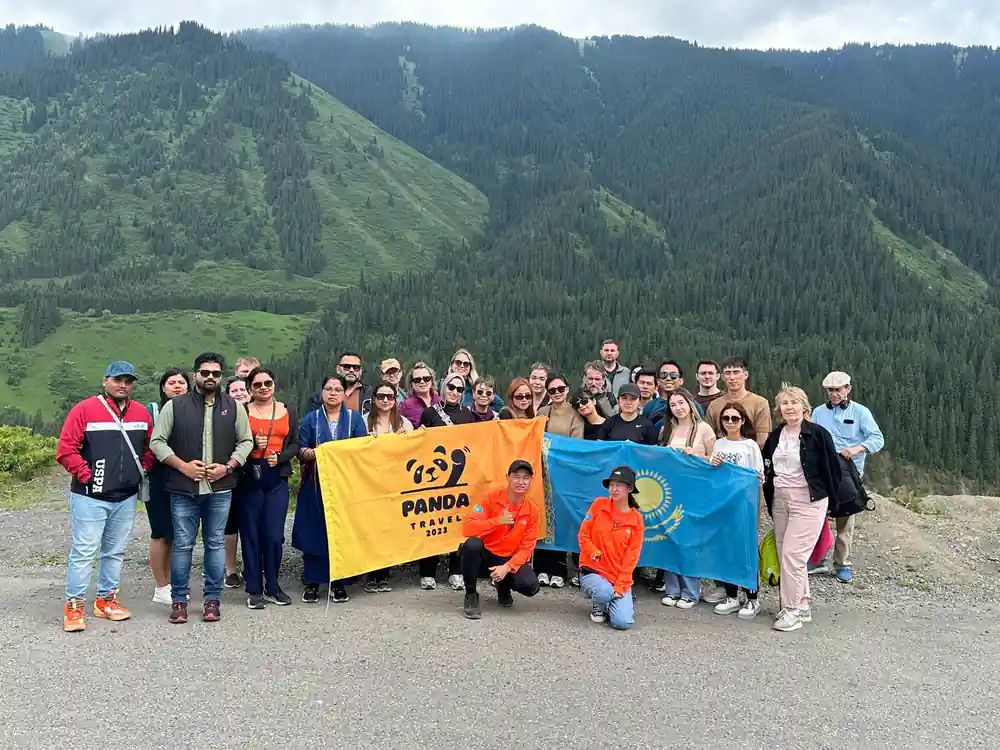
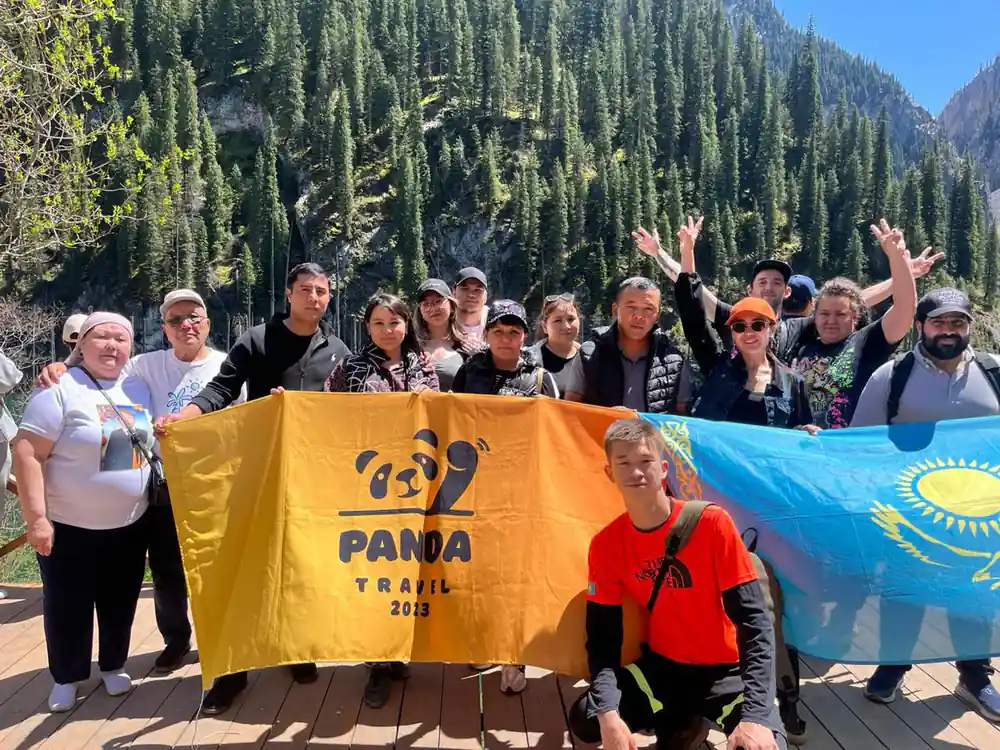
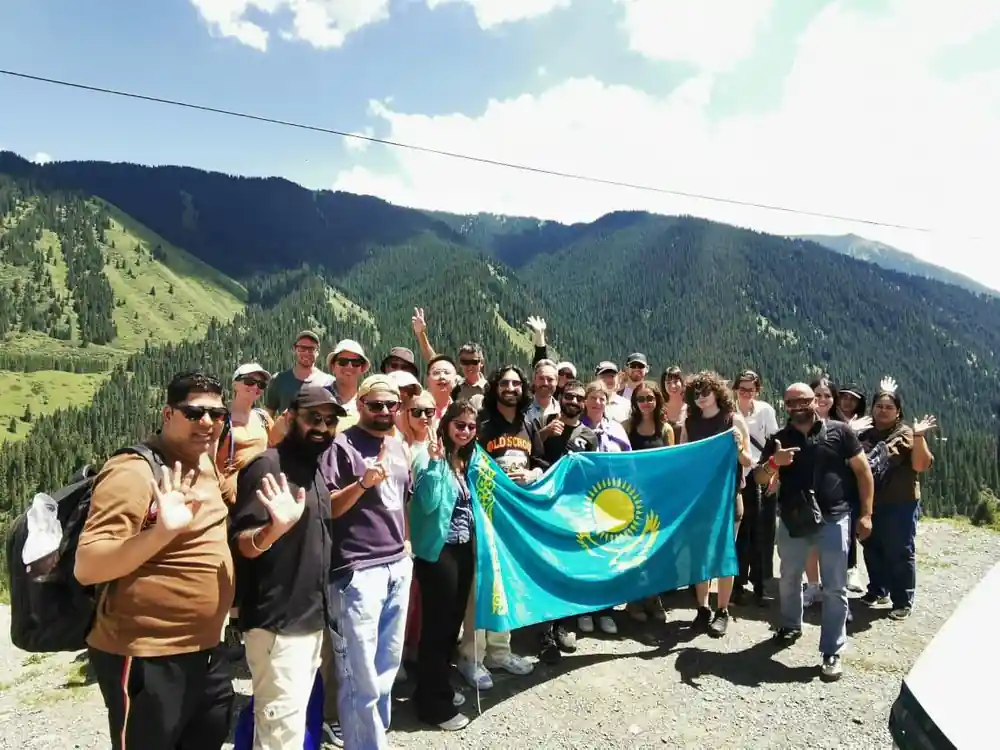
Your professional guide will offer to take a portrait or group photo at one of the three locations, and the included memory photo is most commonly taken at the canyon rim viewpoint where the backdrop is the most dramatic. Clarify with your guide early in the day whether the photo will be taken at the rim or if they prefer another location; some guides choose the Kolsai shore if the light is better there by afternoon. Arrive at your preferred photography spot 10 to 15 minutes before the scheduled time so the guide can position you against the best background light.
The included photo is typically a single shot, not a series, so be ready to pose immediately when your guide raises the camera. Request that the guide use your phone's camera as well if you want a copy on your device; hand your phone to the guide and specify whether you want landscape or portrait orientation. Some guides will also photograph you with your own camera for a backup. Plan for this to take 5 minutes total, then resume your own shooting without delay; the light window at each stop is narrow, and the 17-hour tour's schedule allows limited time for lingering.
Return Light and Evening Exposure at the Canyon
If the route allows a return pass by Charyn Canyon before sunset, the light will have swung through a full arc and the canyon wall will be lit from the west, revealing texture and color invisible at dawn. The shadows on the canyon floor will recede, and the red stone will glow. This is the moment for your most dramatic shots if you have the stamina after a 17-hour day. The included ticket covers entry to the park, and most tours do pass the canyon a second time on the return to Almaty, though timing depends on traffic and the guide's schedule.
If a sunset window at the canyon is available, prioritize it over any final touches at the lakes. The warm, angled light at the canyon's end of day transforms the formations that appeared flat and brown in morning shadow. Expose for the lit stone and let the shadows go dark; this is one of the few moments where a high-contrast exposure is desirable rather than a problem. Check your battery one more time before this final stop, as the drive back to the city is a full two hours and there will be no further photography opportunities.
Book your four-location photography day
from US$59Reserve now & pay later